The Making of a Giclée Art Print


When we think of prints, we often think of the cheap reproductions we have seen in online stores or even museum shops. Lower priced prints are not a bad thing and can allow us to collect beautiful art on a budget. However, for the person intentionally seeking to elevate their space and breathe spirit into it, these prints might not always be the ideal solution.
I totally get it, sometimes an original we love is no longer available or financially not the right investment at the time. Additionally, many of the available prints feel lacklustre in comparison and fail to convey the original splendour and intricate surface detail of your desired original.
This is where prints like mine fit in.
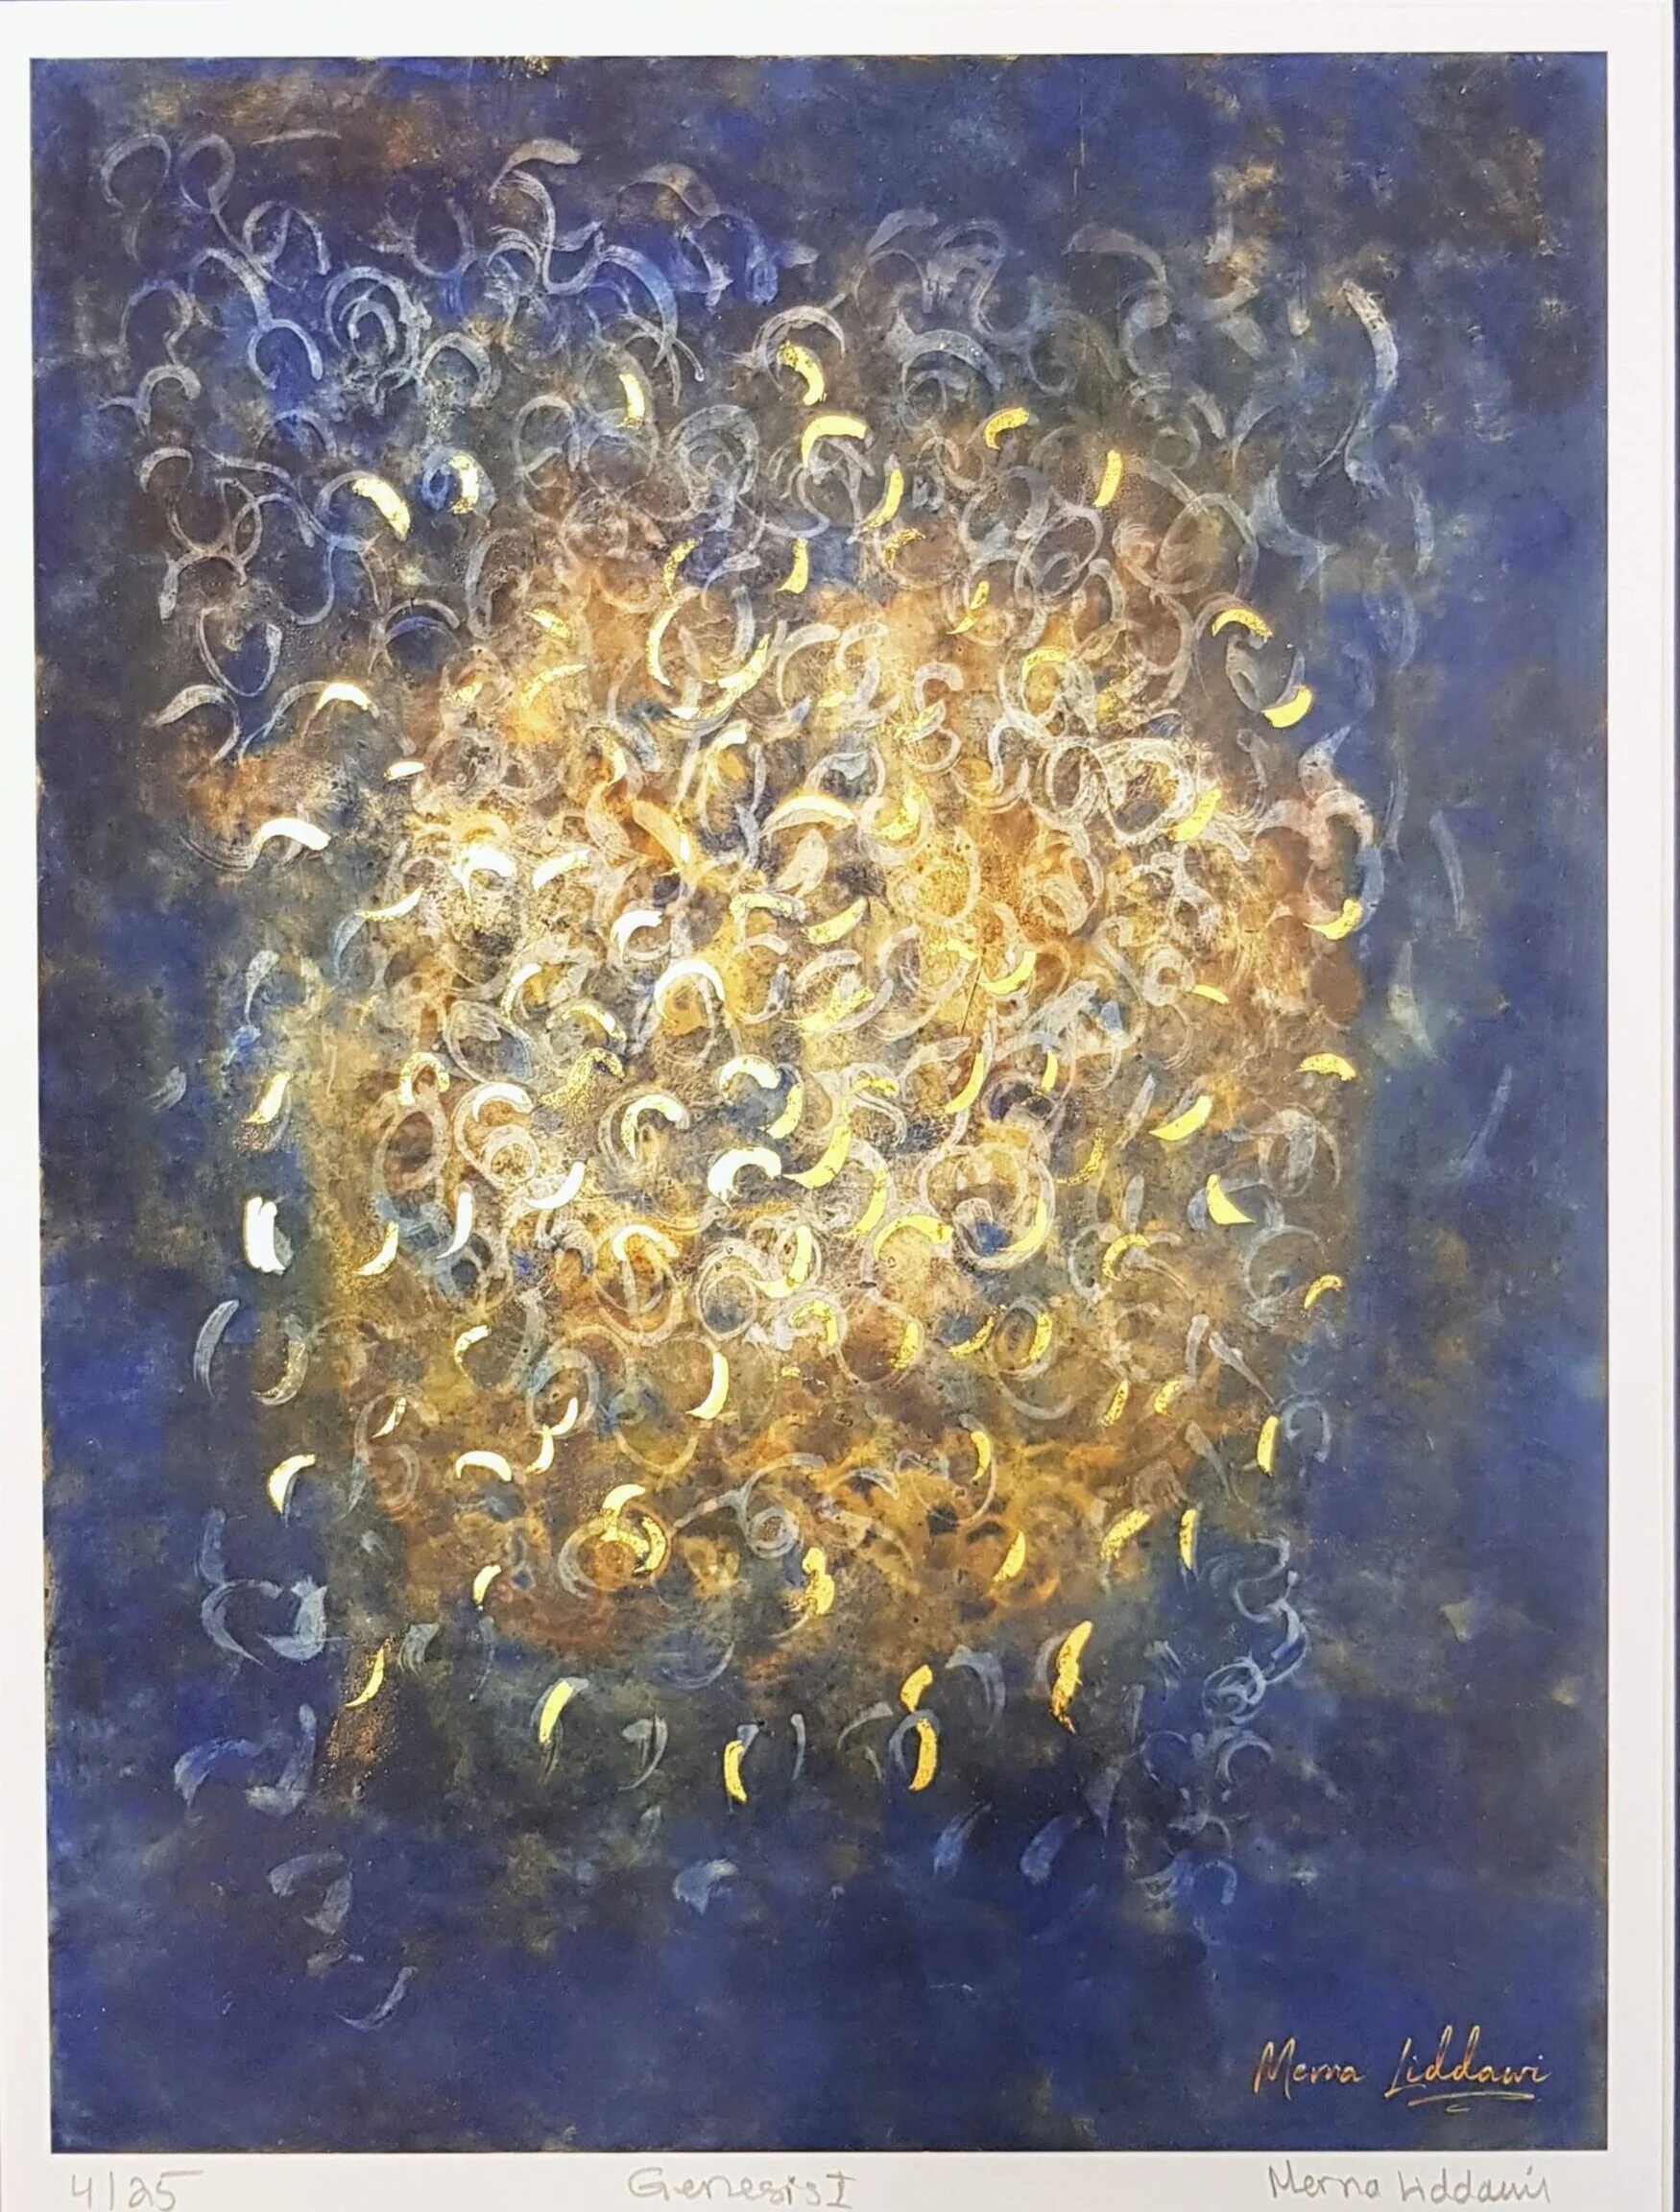
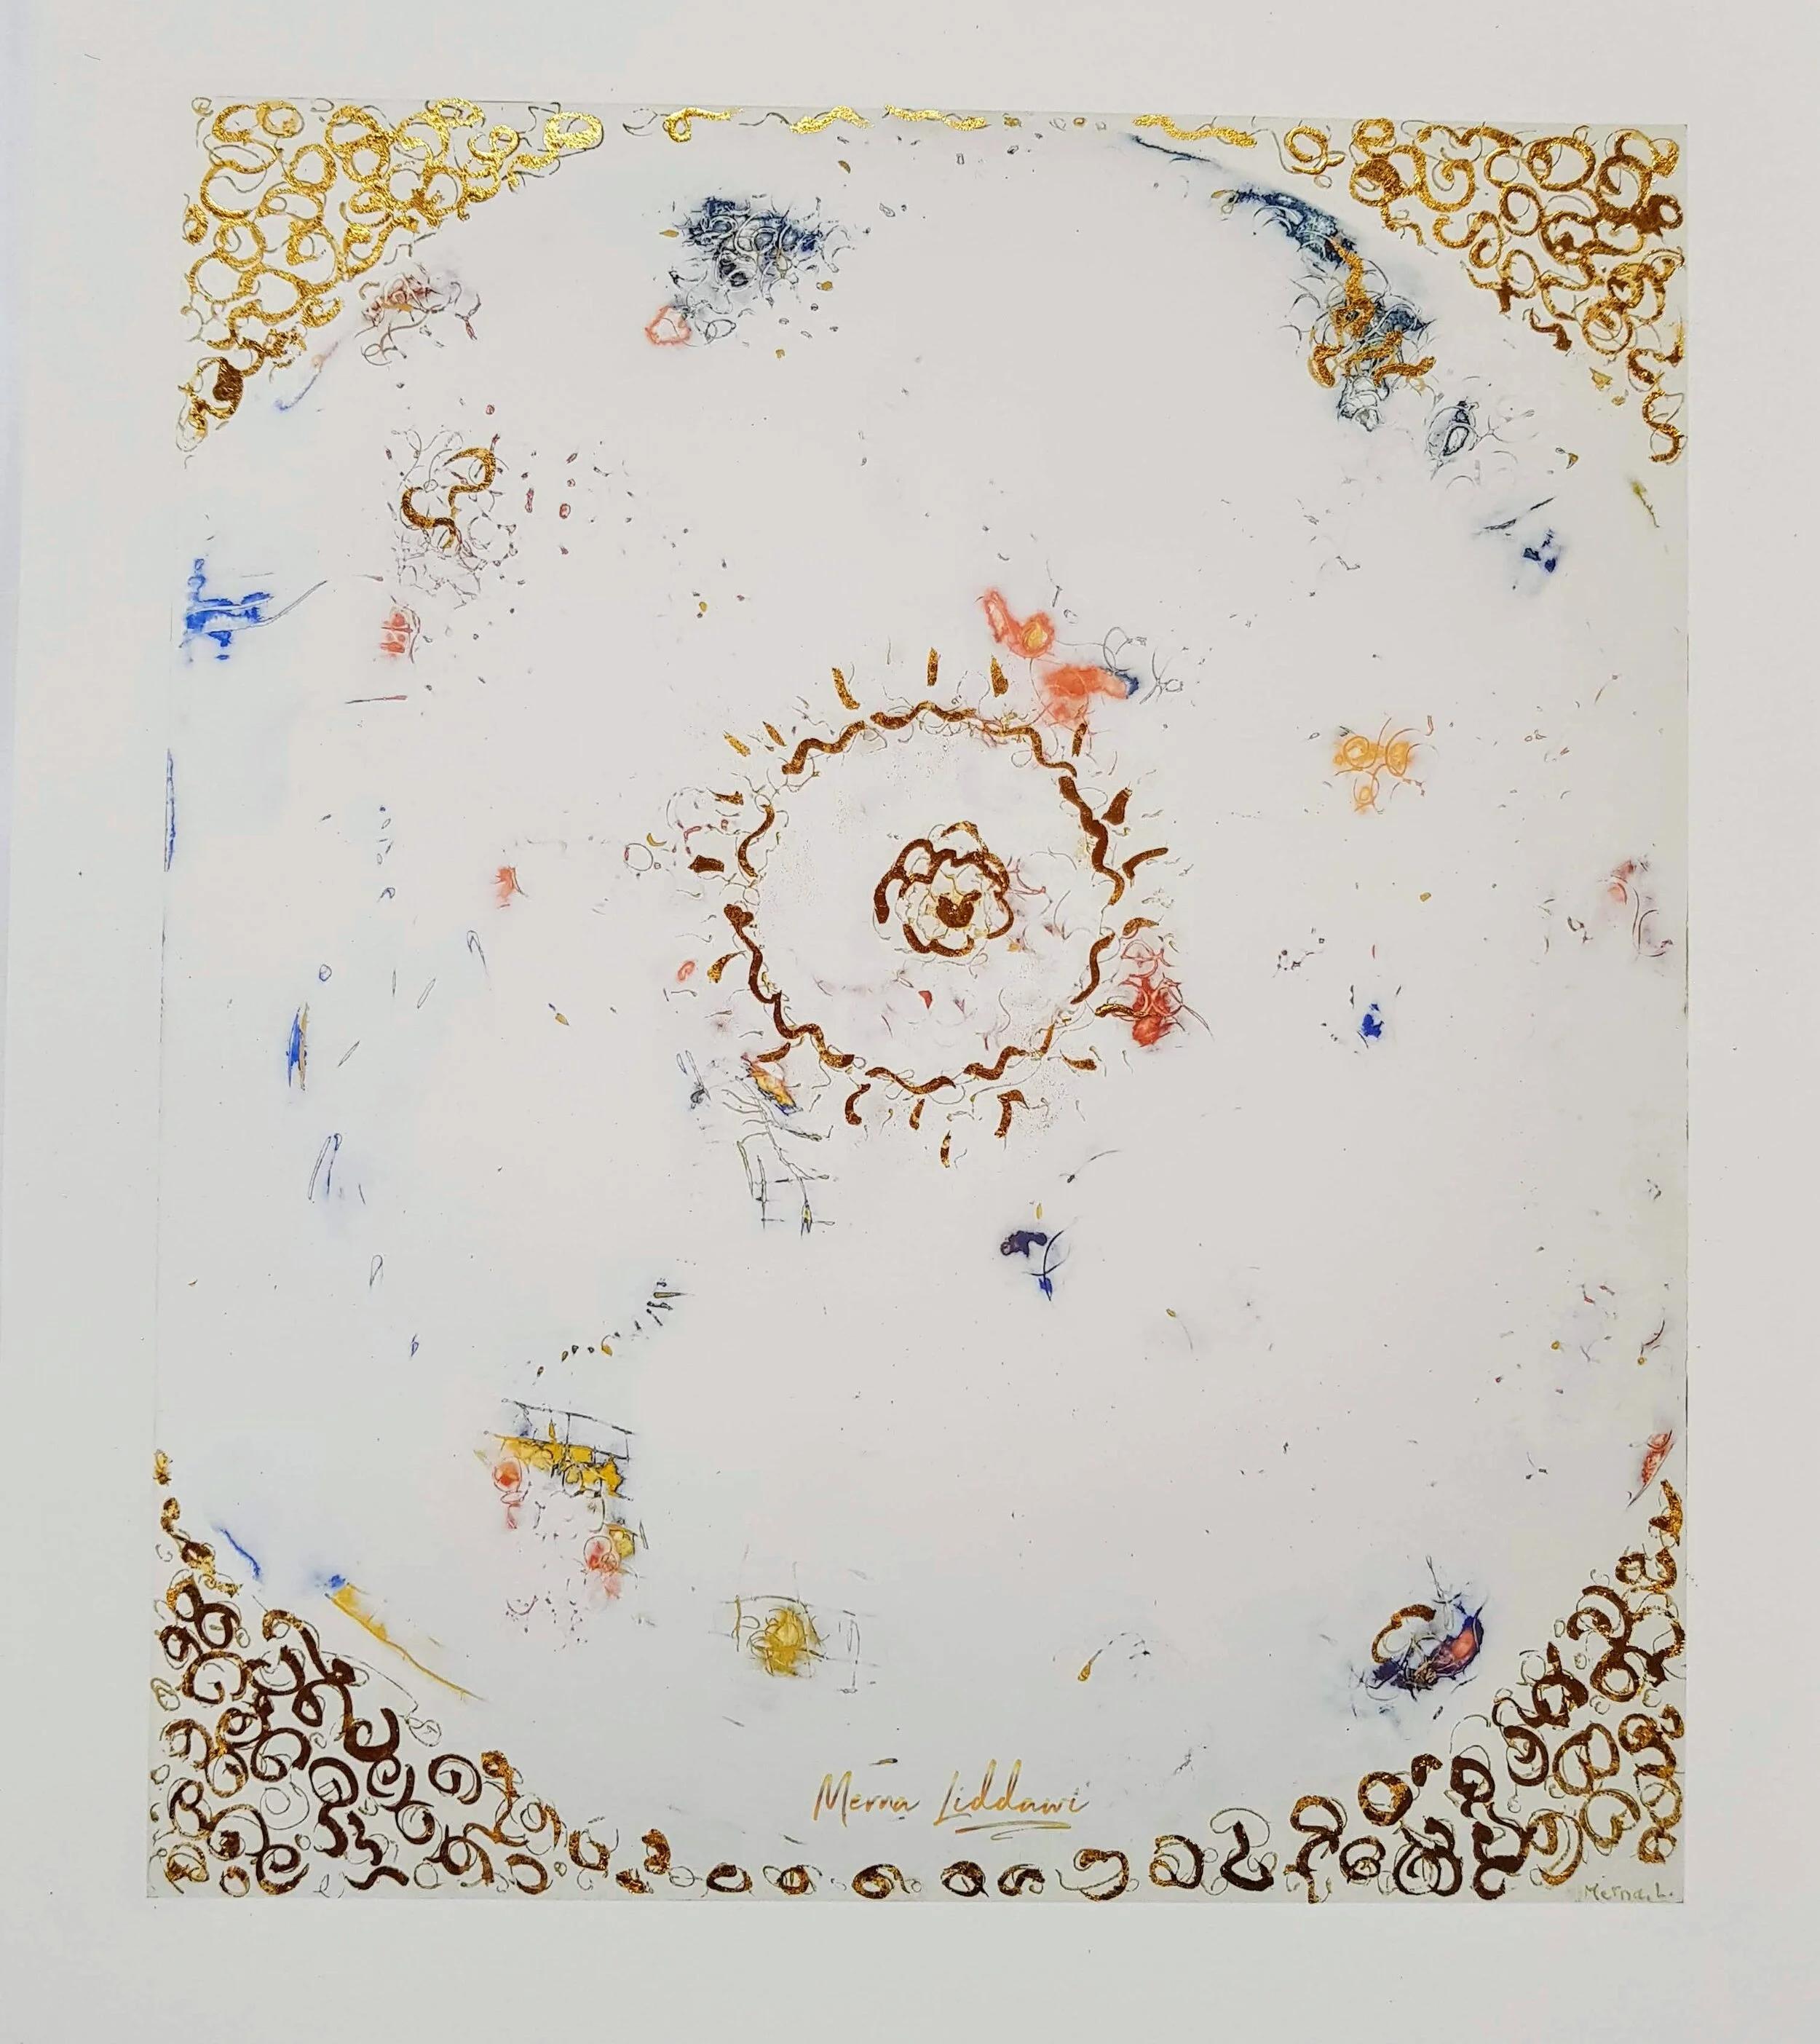
They might not be originals, but so much care and detail go into their production that they can be considered works of art in their own right! To tie into last email’s topic of the many processes that go into the completion of an original artwork, I want to show you the amount of work that goes into each individual print of my limited edition run of Genesis I and Heaven & Earth III.
The first step, of course, is creating a magnificent piece of art. Once that big step is complete, it is important to make professional, high-resolution images of the original. Because this can be quite tricky to get right, I trust this step to my printer. He makes sure that the lighting and angle of the photograph are exactly right and that the colours are as close to the original as possible.
Taking a good picture is one of the most important steps in this process, as a great photograph will ensure that the prints come out looking sharp and vibrant. That’s why I prefer to have them taken by a professional. It’s like with an original painting: If you cut corners at the beginning, it can muddy and even ruin the final product.
Once this step is complete, I take my file to the printer and the exciting process of seeing my art come to life as prints begin. Since my original art is so highly textured and layered, I like to be very specific when it comes to my choice of paper. I like to discuss paper options with my printer, Duncan, and we go through many test runs to get the results just right.
For this limited edition run we decided that fine art photo rag 310 gsm paper would be the best fit. It’s heavy enough to apply 23.5 ct gold leaf onto and strong enough for the finishing layer of varnish.


I love seeing the final result come out of the printer, ready to be embellished. In addition to the layers of real gold that I apply, I sign and number each print, which truly makes it one of a kind since it's impossible to make the same marks again.
To retain this specialness and allow me to invest so much time in the embellishment of each print, I have kept the editions very small. So even if you did not have the chance to claim an original for yourself, these prints will definitely make you feel like you got the next best thing to it.
Genesis I will be limited to 25 editions.
Heaven & Earth III will be limited to 15 editions.
Each print will be signed and numbered at the front and at the bottom. They also come with a Certificate of Authenticity.
These prints might not be originals, but they are made and embellished with just as much thought and effort – and they make fantastic gifts.


Making a print looks like an original
Once my artist proof has been embellished, varnished, and signed, I take the final result to the framer. While framing is not always necessary for an original piece, I always recommend framing a print.
Not only will it protect your precious piece from any damages, it will also elevate the impact it has in the room you decide to hang it. It’s the final touch that will make your print shine and achieve its full visual potential in your home and space.
Because a beautiful frame can make such a difference, I like to choose frames and mounts with particular care. Bringing the finished print to my framer, I again spend a lot of time discussing the many available options, and how to really tease out the beauty of the original piece in my prints. While I listen to my framer’s expertise, I also rely on my gut instinct. When the right frame and mount come together to hug your print? You just know!
There is such a visceral pleasure when all the elements come together and simply fall into place to create a stunning end result that touches your heart, mind, and soul.


Choosing a gold frame
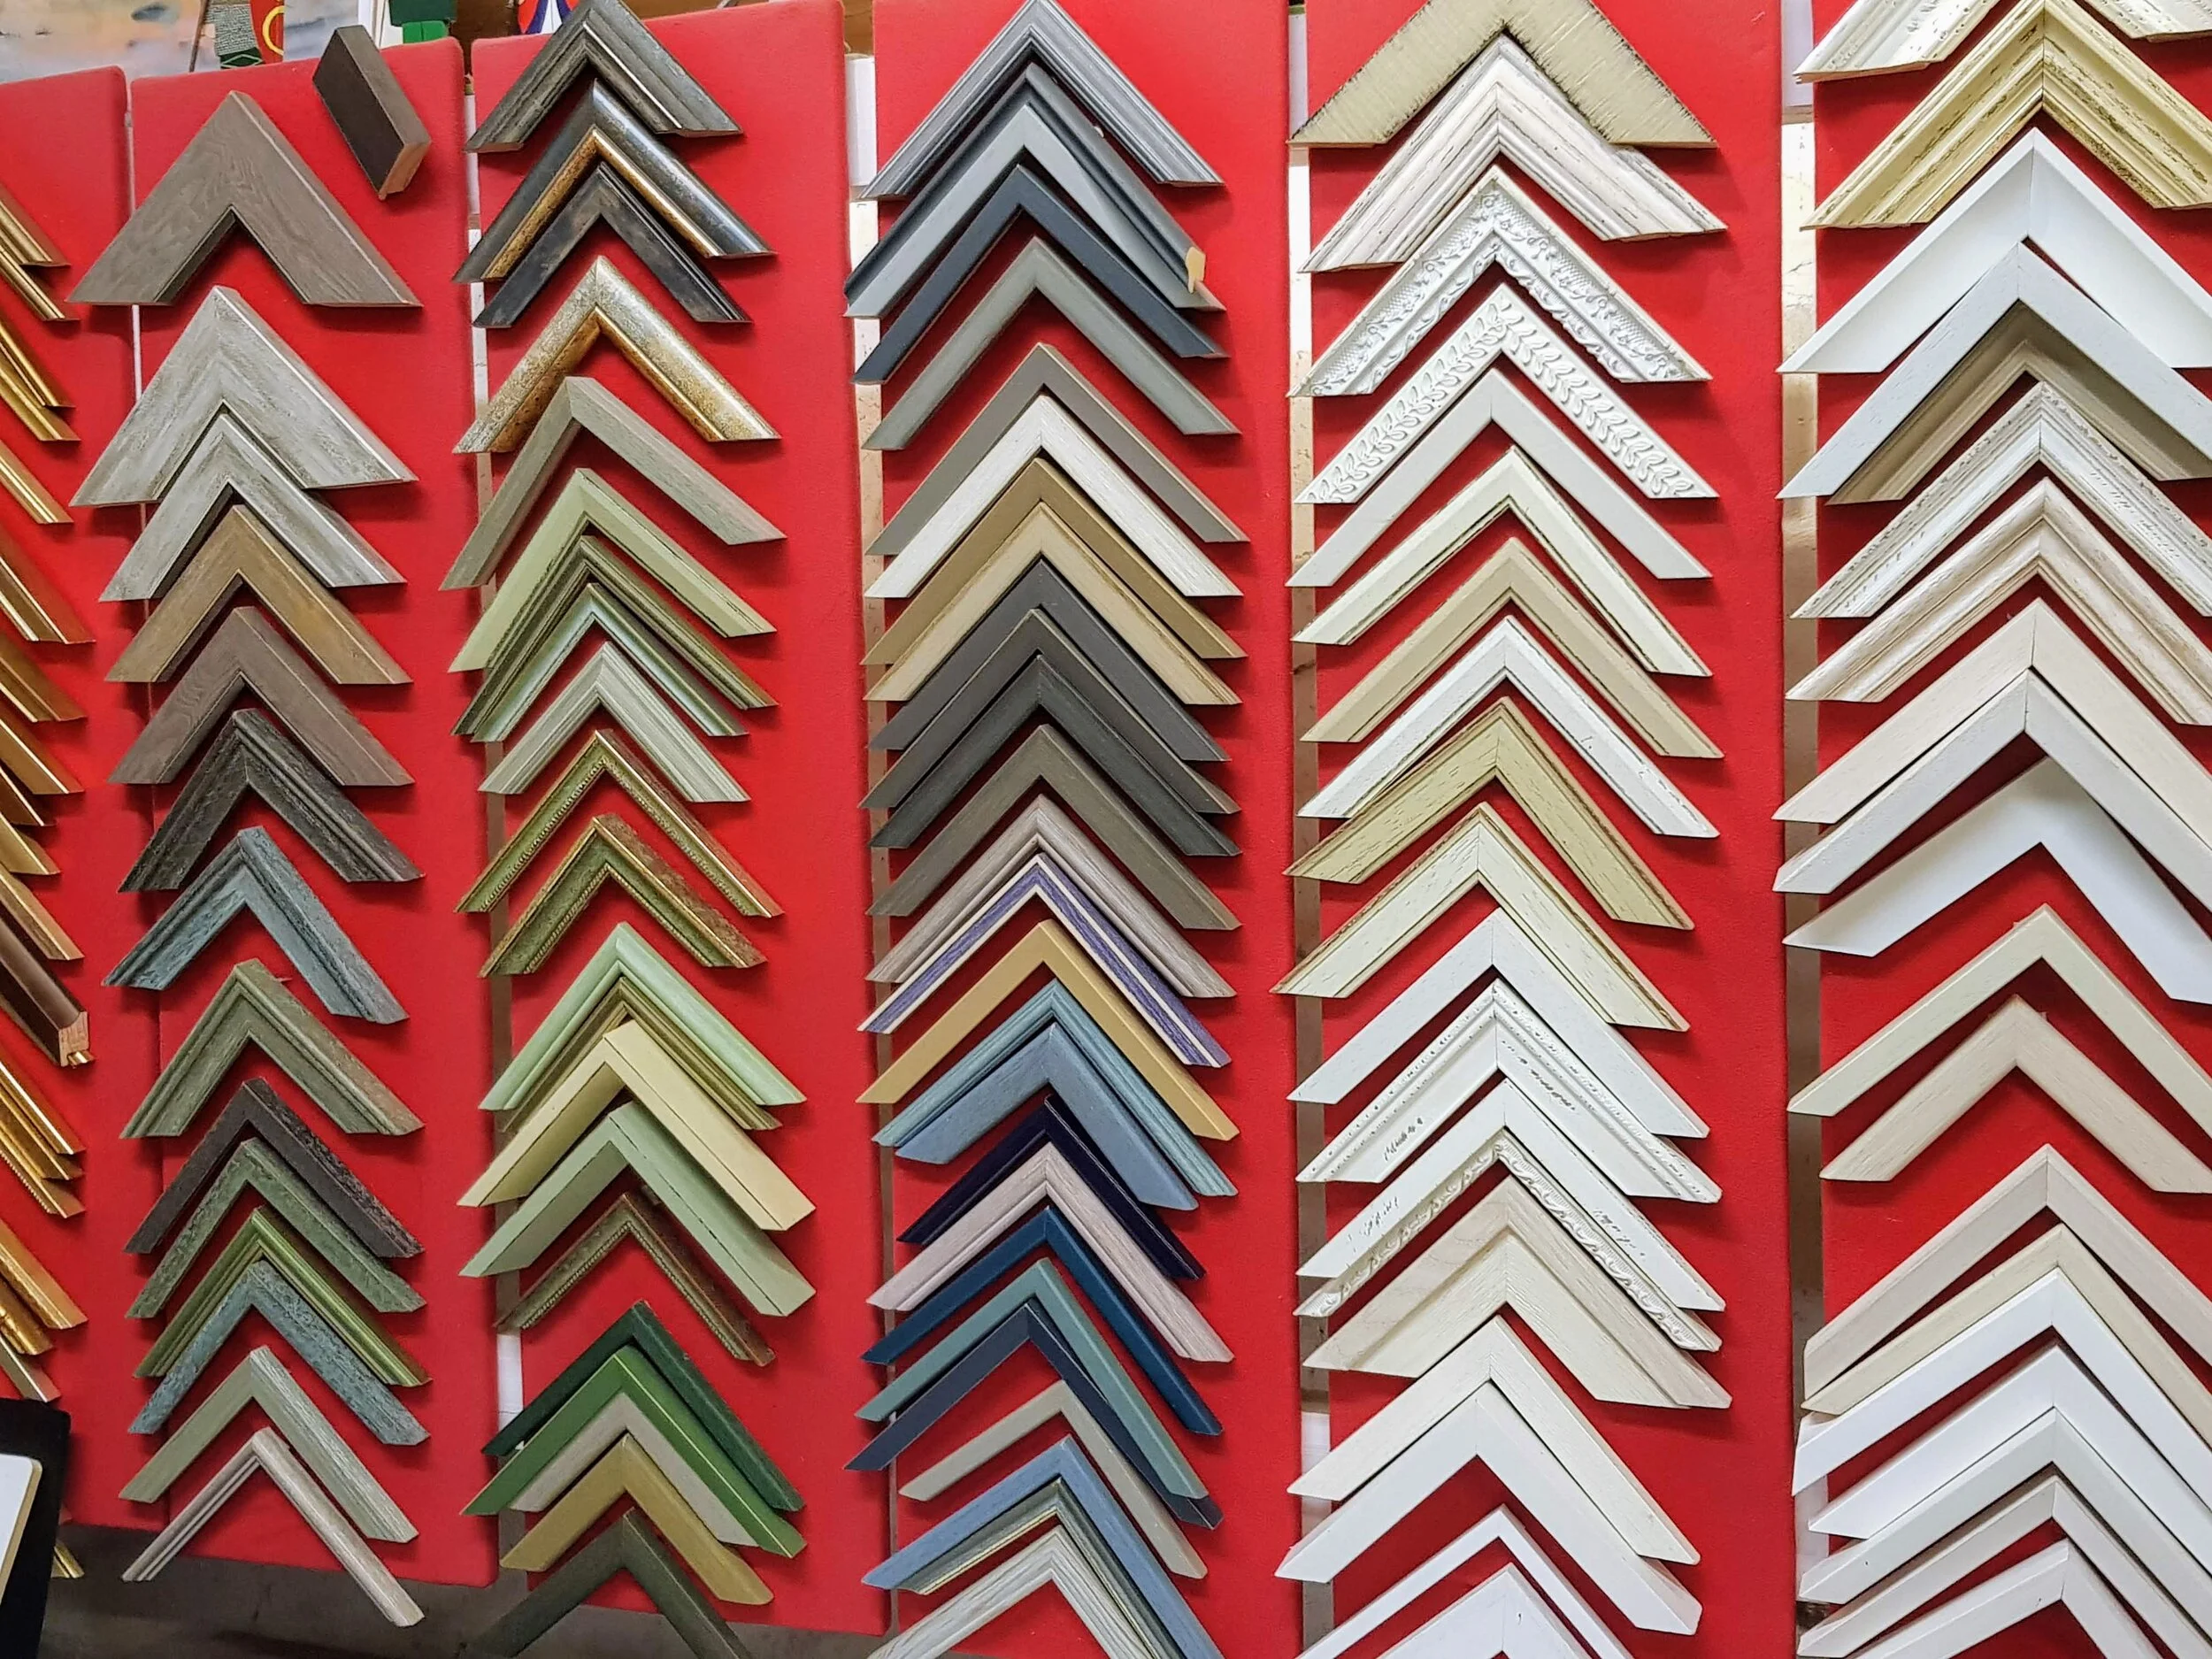

I chose a dark blue mount for Genesis I, and a light cream mount for Heaven & Earth III. I found that either a white or gold frame works well with both prints.
However, I personally like to use a gold frame as it highlights the 23.5 ct gold embellishment in the print perfectly. The gold frame I chose has a lovely crackling effect that compliments both prints.
Have you ever experienced how a frame can completely change the effect a piece of art has? Done right, it’s like using a shoe cream to make a dress shoe really shine. Once you have seen the difference it makes, it will be hard to go back.
I really enjoyed sharing the process of creating these prints with you and I hope I was able to share some of the excitement too!
Interested in one of the limited editions prints?
Click on the images below.